
Paint That Changes Everything
Color is the quickest way to reset a bathroom. A tired, beige wall? Swap it with a fresh sage green or soft charcoal, and suddenly the space feels intentional like someone actually lives there. The trick isn’t just in picking a nice color. It’s choosing one that reflects the right mood: calm, clean, or bold. Look at your lighting and tile color before committing. Always test swatches before diving in.
Bathrooms aren’t friendly to just any paint. Between steam, splashes, and the occasional toddler science experiment, you need moisture resistant finishes. Semi gloss or satin are solid bets they’re easy to wipe down and don’t peel with a little heat. Most major brands offer bathroom specific formulas that resist mold and handle humidity like a champ.
If painting the whole room sounds like a Saturday you don’t want, go strategic. A single accent wall behind the vanity or tub can shift the tone without the full commitment. But if the color you’re covering is dated enough to time stamp the house? Repainting the whole space is worth it. A gallon of paint, a roller, and focus sometimes that’s all it takes to make the room feel new.
Swap Out Hardware Like a Pro
If you’re looking for maximum impact with minimum spend, changing out your bathroom hardware is the smart first move. We’re talking knobs, drawer pulls, towel bars, toilet paper holders, and faucets. These are the details that make an average bathroom feel dated or dialed in. Swapping them gives the whole space a fresh feel without touching drywall or plumbing.
Stick to matching finishes, or at least coordinating ones. Matte black, brushed nickel, and antique brass are popular for a reason: they’re modern, versatile, and easy to find at any hardware store. Mixing too many types in one space can make it feel chaotic. Keep it consistent and everything just looks sharper.
You don’t need a workshop to get this done. A basic screwdriver set, maybe a wrench for the faucet, and you’re set. Just go slow with installation stripping screws happens fast when you rush or use the wrong bit. If a fixture feels stuck, use a bit of painter’s tape around your tool to protect surfaces, and don’t force it. Precision beats strength here.
Light Fixtures You Can Actually Install Yourself
Swapping out old light fixtures might sound intimidating, but it’s one of the easiest ways to level up your bathroom without calling in backup. A sleek pendant or modern vanity light can add a touch of instant luxury to even the smallest space. Think clean lines, warm brightness, and just enough glow to make your countertop shine (without highlighting every toothbrush stain).
Safety first: always switch off the circuit breaker before removing any ceiling or wall mounted fixture. From there, you’re dealing with just a few wires usually black, white, and ground. Match them up, follow the instructions in your new fixture’s box, and you’re golden. You don’t need to be an electrician, but a screwdriver and some common sense go a long way.
And let’s talk bulbs. Color temperature matters more than people think. Aim for soft white (2700K 3000K) to flatter skin tones and avoid that hospital bathroom look. Anything too cool or too yellow can make you feel like you’re filming a horror movie or bathing in candlelight neither ideal.
Modern lighting is the fast track to a clean, spa like vibe. Bonus: it makes your tile, paint, and mirror upgrades look even better.
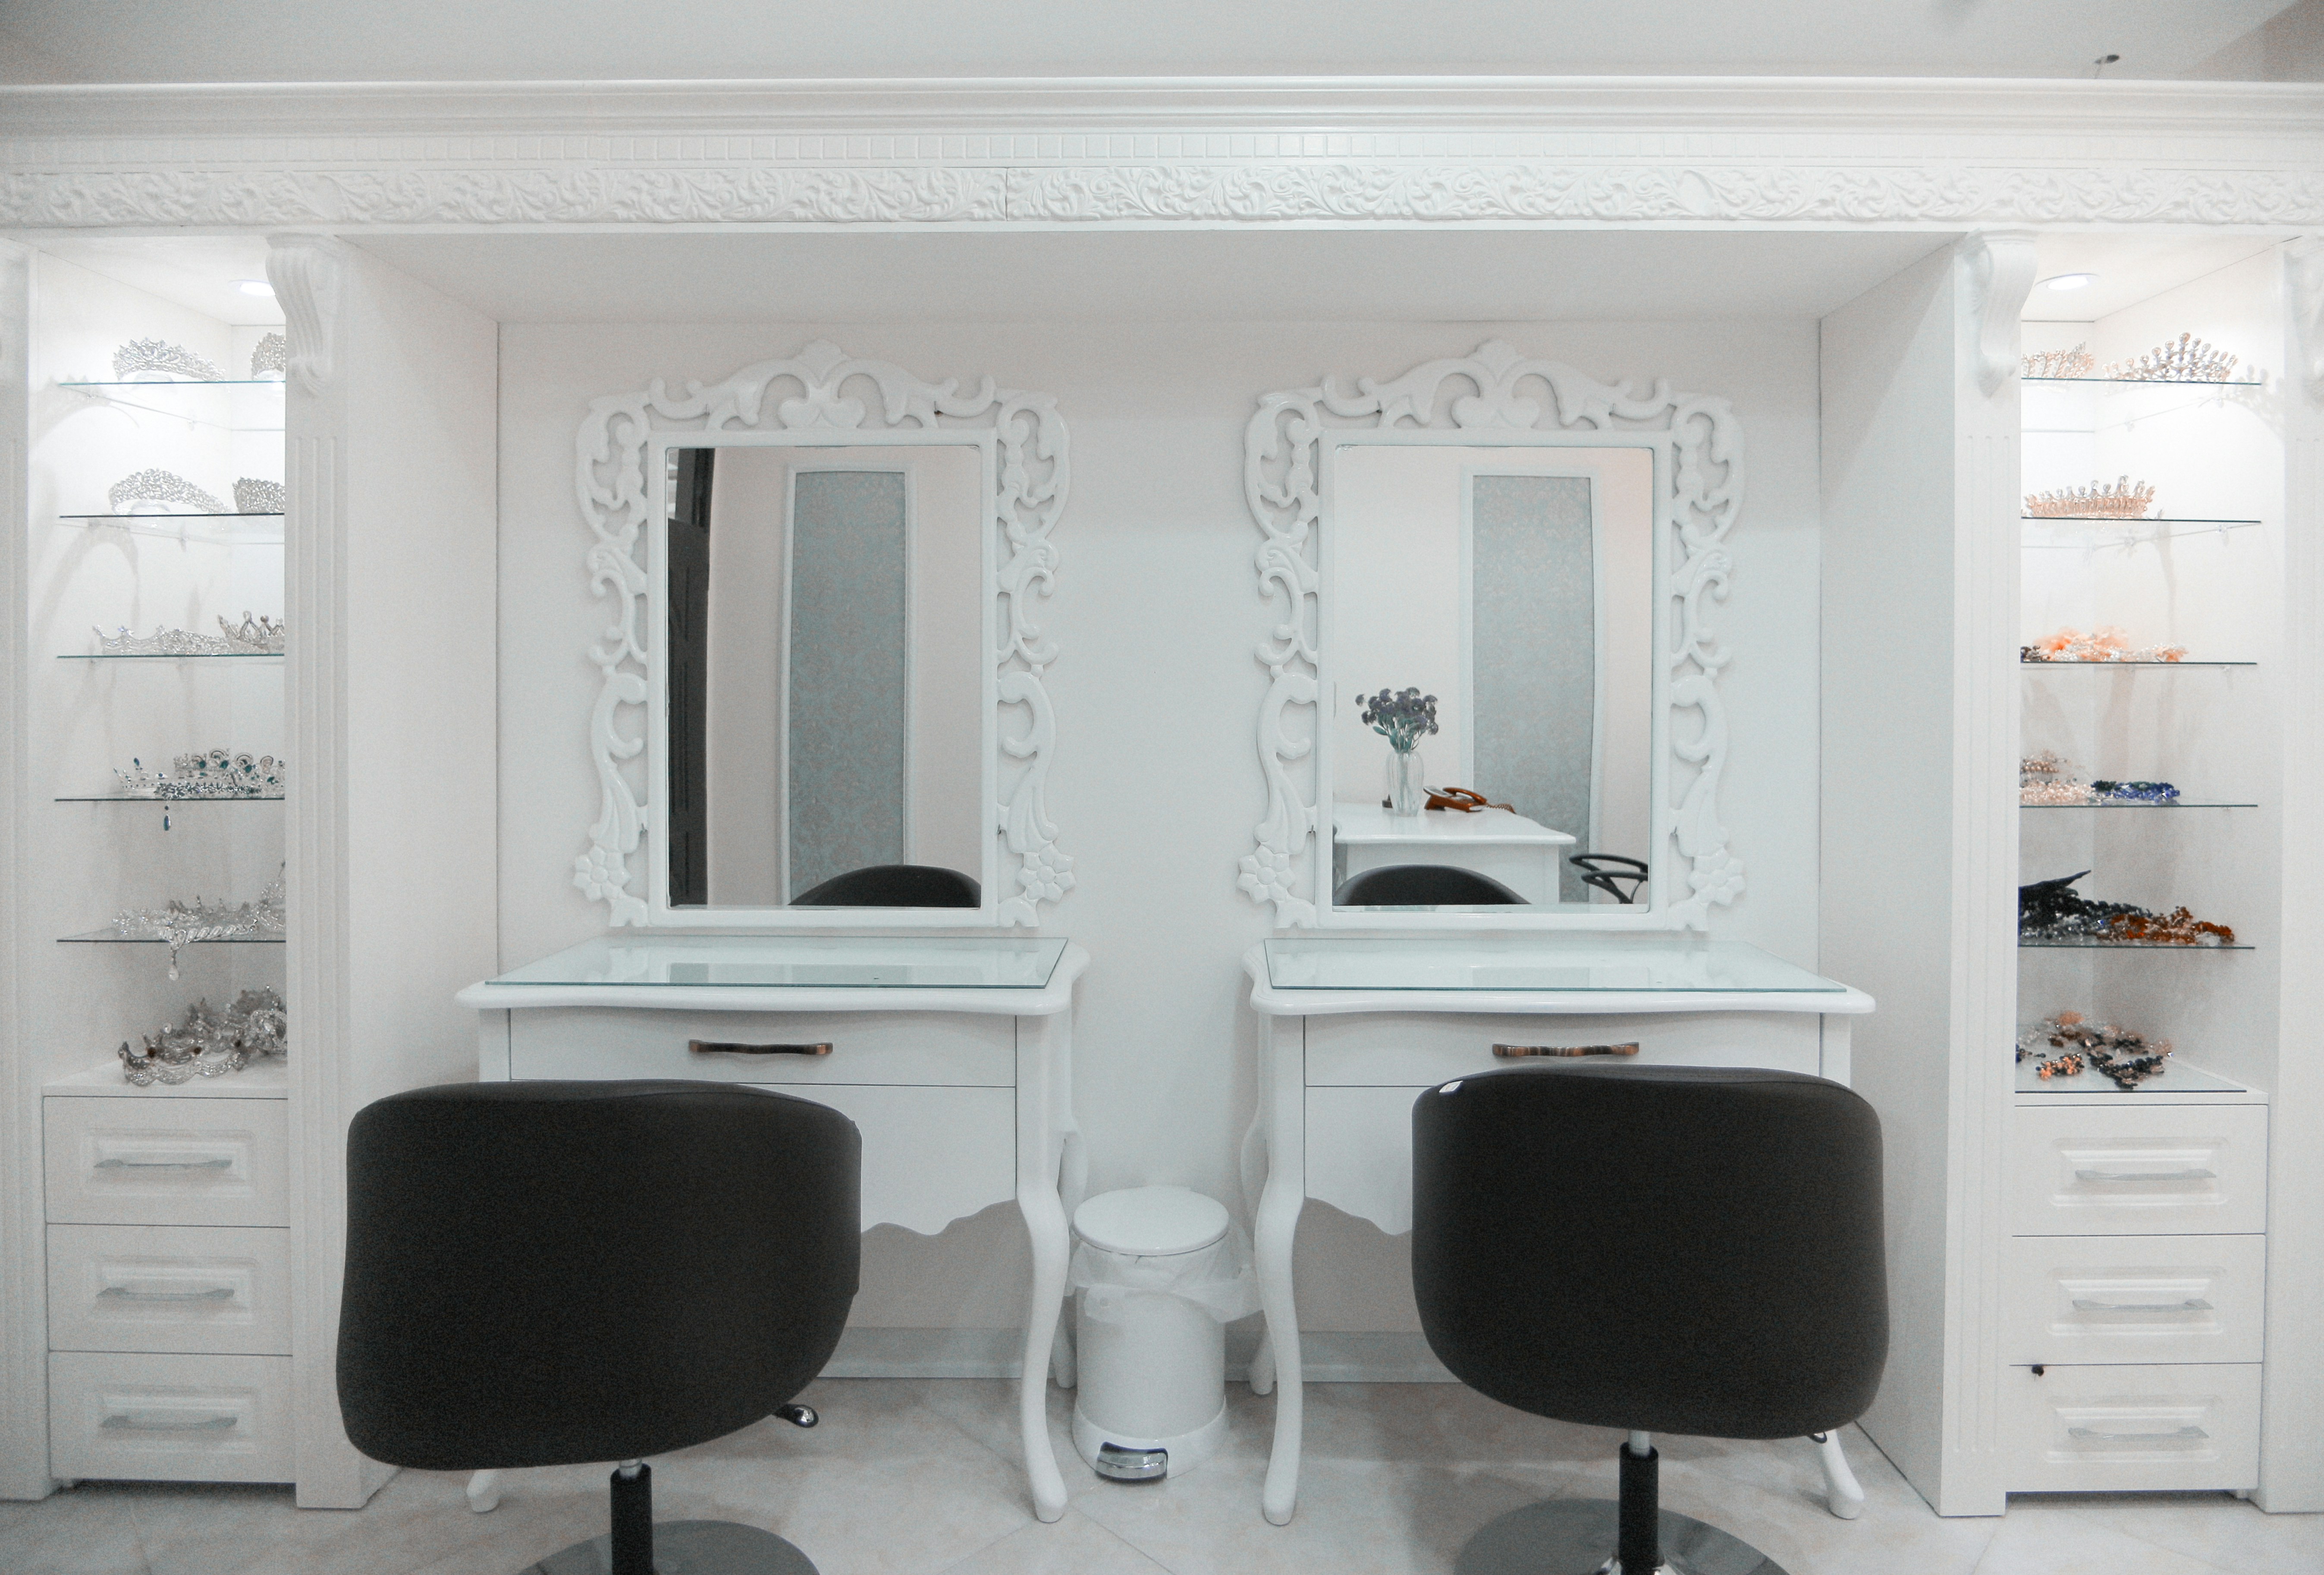
Mirror Makeovers
If your bathroom mirror is still rocking the builder grade look, it’s time for a simple upgrade. Framing your existing mirror is one of the easiest ways to add warmth and polish. You don’t need to yank it off the wall. Grab pre cut mirror frame kits online or cut trim to size from your local hardware store then glue and stick. Done.
If your mirror’s beyond redemption or you want a total style shift, swapping it out isn’t as complicated as it sounds. Round mirrors, black metal frames, or minimalist backlit models are trending. Lightweight options are easier to hang than you think just make sure you use wall anchors if you’re not hitting studs.
Keep the budget in check by hitting places like IKEA, Target, or even your local Habitat ReStore. Online stores and weekend flea markets can also turn up gems. Pro tip: Command strips and heavy duty double sided tape can hold smaller mirrors without drilling. Fast, cheap, looks good. That’s a win.
Easy Vanity Upgrades
If your bathroom vanity is dragging down your whole space, don’t overthink it. A quick facelift is totally doable in a single afternoon.
Start with paint. Use a degreaser to clean your vanity’s surface, sand it lightly, and go in with a bonding primer. From there, choose a cabinet grade paint and a foam roller for a smooth finish no fancy setup needed. If the wood grain bugs you, use filler to smooth it out before you start.
No time for paint? Consider refacing. Peel and stick wood veneers or adhesive panels bring a totally new look without needing to replace the whole structure. Just measure, cut, peel, and press.
Next up: the faucet. You don’t need a plumber unless things get weird. Turn off the water, use a wrench to loosen the supply lines, unscrew the old faucet, and pop the new one in. Most modern faucet kits include all the must haves for DIYers, and there are tons of videos out there if you want visual backup.
Finally, declutter like you mean it. Clear your counters. Use stackable drawer organizers, magnetic strips inside cabinet doors, or sleek trays to corral daily use items. Hooks on the inside of doors, under sink shelf risers, and tiered bins can seemingly double your storage without adding an inch.
Max impact, no remodeling required.
Peel and Stick Everything
You don’t need a contractor or even a drill to give your bathroom a major facelift. Peel and stick materials are the secret weapon for renters, first timers, and anyone on a strict timeline. Removable wall tiles have come a long way; today’s options actually look like ceramic or stone and stick tight without wrecking your drywall. They’re also water resistant, which means they can handle the occasional splash without peeling.
Same goes for countertops. Waterproof contact paper in marble, concrete, or butcher block patterns can completely change the vibe of your vanity. It’s a 30 minute job with a utility knife and a smoothing tool plus, it comes off cleanly when you’re ready to swap styles again.
Want to keep the momentum going? Get inspired with these real life DIY backsplash tips—plenty of weekend ready ideas that don’t require a renovation crew.
Elevate the Details
Small changes in your bathroom’s accessories can lead to a surprisingly big transformation. These are the upgrades that don’t require tools or complicated instructions just a little taste and attention to what makes a space feel fresh and polished.
Upgrade Your Soft Goods
Nothing says “fresh start” like new textiles. The right shower curtain and towels can dramatically shift the room’s mood and tone.
Choose a shower curtain with texture, pattern, or contrast to anchor the space
Opt for plush, color coordinated towels to add a sense of luxury
Stick with one color palette to avoid a cluttered or chaotic look
Add a Touch of Greenery
Even if your bathroom has zero natural light, you can still bring in plant life. Many low maintenance and even faux options add just the right pop of life and warmth.
Snake plants and pothos thrive in low light and high humidity
Faux succulents or eucalyptus stems work well near tubs and sinks
Use small wall mounted planters to save space
Simplify with Matching Containers
Organizing doesn’t have to mean hiding everything away. Uniform containers or trays can dramatically clean up the look of your counters and shelves.
Use matching glass or ceramic containers for cotton swabs, toothbrushes, and other daily use items
Corral clutter with trays under soap dispensers and product bottles
Keep color schemes consistent to reduce visual noise
These subtle tweaks don’t take much time or money but they add a finished, intentional feel to your weekend bathroom transformation.
Floor Fixes Without Demo
If your bathroom floor is dated or just plain dull, you don’t need to rip it all up to make a big impact. Peel and stick tiles or snap in vinyl planks are fast, affordable, and often renter friendly. No saws, no grout mixing, no stress.
For those stuck with old school tile, grout pens are a lifesaver. One pass can turn grimy grout lines bright white or charcoal black if you want more contrast. It’s less effort than regrouting but still packs a visual punch.
And don’t underestimate the power of the right rug. A simple bath mat upgrade can bring texture, color, and anti slip safety in a single move. Look for rugs with rubber backing and quick dry materials that can handle steamy showers.
You don’t need a sledgehammer or a stack of tile samples to change the vibe. Just a few smart swap ins and a free afternoon.
Wrap Up Hack List
You don’t need a contractor, a ton of time, or deep pockets to give your bathroom a serious boost. Every idea in this article can be knocked out in a weekend most in a single day. Whether it’s swapping out hardware, updating lights, or laying down peel and stick tile, these upgrades are DIY friendly and don’t require fancy tools or trade skills.
Here’s a quick rundown of what you’re looking at in terms of time and cost:
Fresh coat of paint? Expect to spend $30 $80 and about 4 6 hours.
New hardware and fixtures? Around $50 $150 total, depending on what you change.
Peel and stick surfaces (walls, counters, floors)? Budget $60 $120, all installable in a day.
Accessories, towels, rugs, and plants for a smart refresh? Easily done under $100.
Total cost for a simple, high impact makeover? Anywhere from $100 to $400, with big visual payoff.
And if you’re updating the backsplash or walls, don’t miss these handy DIY backsplash tips. They’re proof that strategy more than spend is what transforms a space.
 Ask Ireneia Diamondolls how they got into home repair tips and you'll probably get a longer answer than you expected. The short version: Ireneia started doing it, got genuinely hooked, and at some point realized they had accumulated enough hard-won knowledge that it would be a waste not to share it. So they started writing.
What makes Ireneia worth reading is that they skips the obvious stuff. Nobody needs another surface-level take on Home Repair Tips, Creative Concepts, DIY Renovation Ideas. What readers actually want is the nuance — the part that only becomes clear after you've made a few mistakes and figured out why. That's the territory Ireneia operates in. The writing is direct, occasionally blunt, and always built around what's actually true rather than what sounds good in an article. They has little patience for filler, which means they's pieces tend to be denser with real information than the average post on the same subject.
Ireneia doesn't write to impress anyone. They writes because they has things to say that they genuinely thinks people should hear. That motivation — basic as it sounds — produces something noticeably different from content written for clicks or word count. Readers pick up on it. The comments on Ireneia's work tend to reflect that.
Ask Ireneia Diamondolls how they got into home repair tips and you'll probably get a longer answer than you expected. The short version: Ireneia started doing it, got genuinely hooked, and at some point realized they had accumulated enough hard-won knowledge that it would be a waste not to share it. So they started writing.
What makes Ireneia worth reading is that they skips the obvious stuff. Nobody needs another surface-level take on Home Repair Tips, Creative Concepts, DIY Renovation Ideas. What readers actually want is the nuance — the part that only becomes clear after you've made a few mistakes and figured out why. That's the territory Ireneia operates in. The writing is direct, occasionally blunt, and always built around what's actually true rather than what sounds good in an article. They has little patience for filler, which means they's pieces tend to be denser with real information than the average post on the same subject.
Ireneia doesn't write to impress anyone. They writes because they has things to say that they genuinely thinks people should hear. That motivation — basic as it sounds — produces something noticeably different from content written for clicks or word count. Readers pick up on it. The comments on Ireneia's work tend to reflect that.