Know Your Water Heater Type
Before you can maintain your water heater, you need to know what you’re working with.
Tank systems are the traditional type basically, they store and heat a big volume of water in one go. Simple, steady, but they lose heat when idle. Tankless models, on the other hand, heat water only when you need it. They’re leaner, use less standby energy, but can be more sensitive to mineral buildup and flow issues.
This matters because the maintenance checklist is not one size fits all. A tank system needs regular flushing to clear out sediment that settles at the bottom. A tankless unit? You’re focused more on descaling and checking inlet screens. The life span, energy use, and even the warning signs that something’s wrong can vary a lot.
Look for the spec label on your unit it usually tells you the type, model, and age. If there’s a big insulated cylinder, you’ve got a tank system. If it’s small, wall mounted, and fires up only when taps run, it’s tankless. Take a few minutes to study where the pipes go, spot the pressure relief valve, and check the thermostat dial or control screen. Knowing your system helps you catch issues earlier and keeps your maintenance smart, not guesswork.
Flush the Tank Regularly
Over time, minerals in your water especially if you’ve got hard water settle at the bottom of your heater tank. That sediment acts like an insulating layer, making your unit work harder and wasting energy. Left unchecked, it can shorten your heater’s life, cause popping noises, and spike your utility bills.
Best time to flush your tank? Once a year is a safe bet, ideally early fall. That way, your heater’s cleared out and running efficiently before the winter workload kicks in.
Flushing it yourself isn’t complicated. Start by turning off power to the unit gas or electric. Then shut off the cold water supply. Connect a garden hose to the drain valve at the bottom and run it to a floor drain or outside. Open the valve and let it empty. To help clear grit, briefly open the cold water valve while draining. Once it’s fully flushed, close the drain, disconnect the hose, refill the tank, and restore power.
Think of it as a tune up your heater quietly thanks you for. For the full step by step, check out DIY water heater care.
Test the Pressure Relief Valve
The pressure relief valve is a small but vital safety feature on your water heater. Its job? To open and release water if the pressure or temperature inside the tank gets too high. Without it, your system could explode under stress. That’s not a scare tactic it’s physics. This valve is what stands between you and a dangerous pressure build up.
Testing it takes under five minutes. Here’s how:
- Locate the valve usually on the top or side of the tank. It will have a small metal lever.
- Place a bucket under the discharge pipe.
- Lift the lever for a second or two, then release it. You should hear a rush of air or see water flow into the bucket.
- If nothing happens or it doesn’t reseal properly after the test it may be faulty.
Watch for signs it’s failing: constant leaking, mineral buildup around the valve, or total silence when you lift the lever. If you see any of these, it’s time for a replacement. A bad valve isn’t a minor issue don’t wait it out. A new one is cheap and easy to install, or your plumber can do it in under an hour.
Check and Adjust the Temperature Setting
Why Temperature Matters
Setting your water heater to the right temperature is essential not just for comfort and safety, but for energy efficiency too. If it’s too high, you risk scalding and higher utility bills. Too low, and you could encourage bacterial growth or run out of hot water too soon.
Ideal Temperature Range
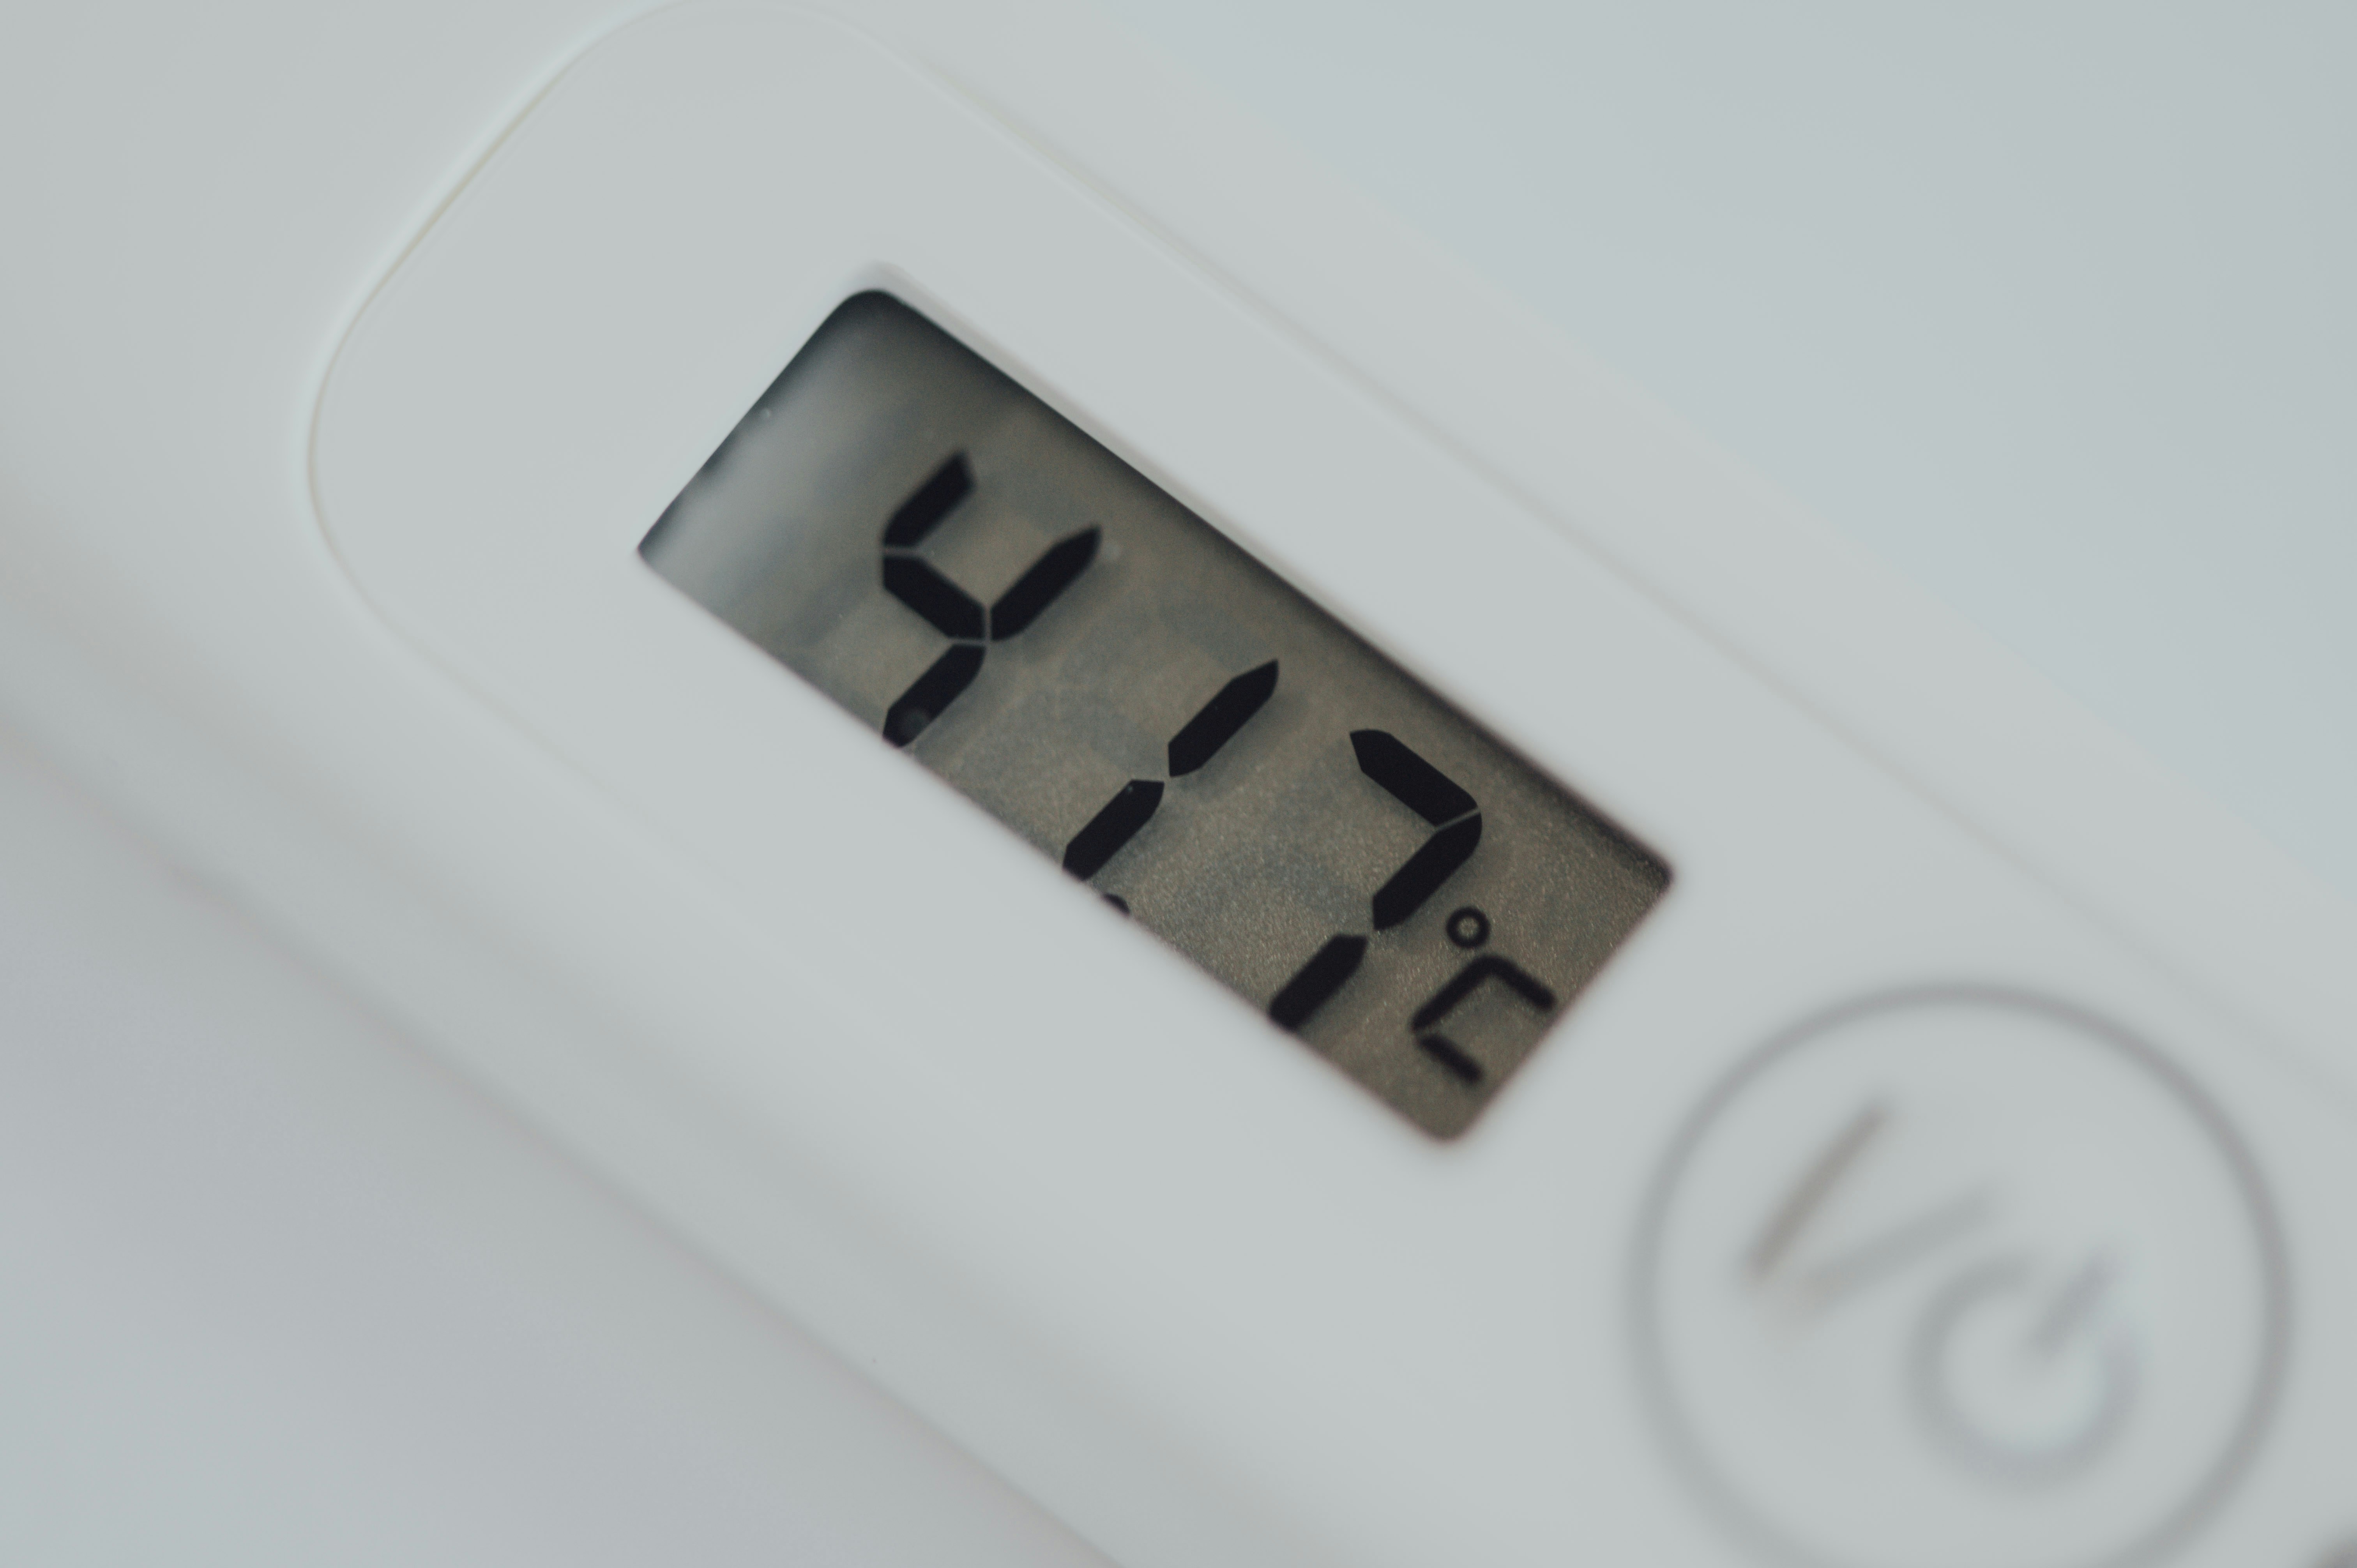
Most experts recommend keeping your water heater set between 120°F and 130°F. This range provides a balance of performance, safety, and energy cost savings.
120°F is ideal for most households with children or elderly residents, helping lower the risk of accidental burns
130°F can be used in homes requiring hotter water or where bacterial buildup is a concern
How to Adjust Water Heater Temperature
Whether you have a gas or electric unit, adjusting your water heater’s thermostat is usually straightforward. Be sure to turn off power to the unit before making any changes.
Steps for Adjustment:
- Locate the thermostat panel (may need to remove a small access cover).
- Use a flathead screwdriver to adjust the dial to the desired setting.
- Replace the cover and restore power.
- Wait a few hours, then run hot water to test the temperature.
Tip: Use a thermometer at the tap to confirm accuracy. Wait until the water runs steady and check it with a kitchen thermometer.
Seasonal Temperature Adjustments
Your hot water needs may vary with the seasons. Making small adjustments can increase comfort and help reduce wasteful energy use:
Winter: Consider inching the temperature toward 130°F for consistent warmth.
Summer: Dial back to 120°F to lower energy bills when demand is lighter.
Final Note
Frequent large temperature shifts aren’t necessary, but a thoughtful adjustment with the seasons can boost efficiency without sacrificing comfort.
Keeping your temperature settings in check is a small act of maintenance that can have a big impact safer showers, lower bills, and a longer lasting hot water system.
Inspect for Leaks, Rust, or Corrosion
Leaks often start small and silent. The most common spots? Around the base of the tank, the pressure relief valve, and the supply line fittings up top. A slow drip might look harmless, but over time it can damage floors, foster mold, or mask a larger issue. Don’t ignore moisture where it doesn’t belong.
Rust is another red flag. If you see rust on the bottom of the tank or around pipe connections, it’s usually a sign the unit’s protective lining is breaking down. Surface rust on external fittings might just call for cleaning and repainting. But if it’s coming from inside the tank or around welded seams, deterioration has set in.
So when do you patch it up and when do you call it? Minor leaks around fittings can sometimes be fixed with a replacement valve or some tightening. But if the tank itself is leaking, especially near the bottom, it’s likely corroded through. That’s not a repair job it’s time to replace the unit. Don’t wait until it bursts. A little attention now can save you from a flooded basement later.
Insulate for Efficiency
If your water heater is more than a few years old, chances are it’s leaking heat when it doesn’t have to. Older units often lack built in insulation, and that’s energy and money literally slipping away. Adding a simple insulation blanket to the tank can reduce standby heat loss by 25% to 45%. It’s not fancy work, just practical.
Hot water pipes are another easy target. On most systems, the pipes coming off the tank lose heat between each use, especially in colder months. Wrapping exposed lines with foam pipe insulation keeps the water warmer longer, which means your unit isn’t working overtime to reheat it.
You don’t need to be an expert to do this. A trip to the hardware store and an hour of hands on time is often enough to make a difference. It’s one of the cheapest, most effective DIY upgrades you can make to cut standby losses.
More on DIY water heater care
Create a Simple Maintenance Calendar
Keeping your water heater in peak condition doesn’t require guesswork just a consistent schedule. Mapping out what to check and when can save you time, money, and prevent unwanted surprises.
Break Maintenance Into Manageable Chunks
Monthly Tasks:
Do a quick visual check for leaks, rust, or suspicious noises.
Make sure area around the heater is clear of clutter and flammables.
Seasonal (Every 3 6 Months):
Test the temperature pressure relief valve for proper function.
Check the thermostat setting adjust for winter or summer as needed.
Drain a few gallons of water to reduce sediment buildup (especially in hard water areas).
Annual Checks:
Fully flush the tank to remove built up sediment (recommended once per year).
Inspect anode rod and replace if it’s heavily corroded.
Examine insulation on the tank and hot water pipes; add more if needed.
For a deeper breakdown, refer to more on DIY water heater care.
Know When to DIY and When to Call a Pro
While many tasks are homeowner friendly, some situations call for expert help:
You can DIY:
Flushing the tank and testing the valve with proper guidance
Adjusting the temperature setting
Adding pipe insulation
Call a professional if:
You spot corrosion near gas or electrical components
The pressure relief valve is leaking or broken
You hear rattling or banging noises that persist after flushing
Why Scheduling Pays Off
Regular maintenance can:
Extend the life of your water heater by several years
Improve efficiency, reducing energy costs
Prevent emergency breakdowns that lead to costly repairs
By carving out time across the year, you turn maintenance into routine not a last minute scramble. A simple calendar or phone reminder can ensure your water heater runs smoothly all year long.
Stay Ahead of Bigger Problems
Even a well maintained water heater won’t last forever. Recognizing when your system is reaching the end of its lifespan can help you avoid messy surprises and costly emergency calls.
Warning Signs Your Water Heater May Be Failing
It’s better to replace your unit on your own schedule than during a cold shower crisis. Watch for these red flags:
Inconsistent water temperature: Sudden transitions from hot to cold
Strange noises: Popping or rumbling sounds can mean sediment has hardened
Rust colored water: This might signal corrosion inside the tank
Water pooling around the base: Active leaks often indicate internal failure
Age of the unit: Most water heaters last 8 12 years. Check your unit’s serial number for its manufacturing date
Proactive Care Saves Time and Money
Staying on top of routine maintenance can dramatically extend your water heater’s performance and reduce emergency repair costs:
Schedule regular inspections
Flush the tank once or twice a year
Test the pressure relief valve annually
Adjust temperature settings seasonally
Insulate where needed to maximize efficiency
Final Thought: Respect the Unit, and It’ll Return the Favor
A water heater is one of the hardest working appliances in your home. Give it consistent attention, and it will reward you with reliable hot water, fewer surprises, and better energy efficiency. Don’t wait for problems to escalate simple, scheduled maintenance is your best defense.
Remember: a little care now keeps the cold showers (and repair bills) away later.
 Zoryna Xelthanna has opinions about diy renovation ideas. Informed ones, backed by real experience — but opinions nonetheless, and they doesn't try to disguise them as neutral observation. They thinks a lot of what gets written about DIY Renovation Ideas, Gardening and Landscaping Tips, Home Repair Tips is either too cautious to be useful or too confident to be credible, and they's work tends to sit deliberately in the space between those two failure modes.
Reading Zoryna's pieces, you get the sense of someone who has thought about this stuff seriously and arrived at actual conclusions — not just collected a range of perspectives and declined to pick one. That can be uncomfortable when they lands on something you disagree with. It's also why the writing is worth engaging with. Zoryna isn't interested in telling people what they want to hear. They is interested in telling them what they actually thinks, with enough reasoning behind it that you can push back if you want to. That kind of intellectual honesty is rarer than it should be.
What Zoryna is best at is the moment when a familiar topic reveals something unexpected — when the conventional wisdom turns out to be slightly off, or when a small shift in framing changes everything. They finds those moments consistently, which is why they's work tends to generate real discussion rather than just passive agreement.
Zoryna Xelthanna has opinions about diy renovation ideas. Informed ones, backed by real experience — but opinions nonetheless, and they doesn't try to disguise them as neutral observation. They thinks a lot of what gets written about DIY Renovation Ideas, Gardening and Landscaping Tips, Home Repair Tips is either too cautious to be useful or too confident to be credible, and they's work tends to sit deliberately in the space between those two failure modes.
Reading Zoryna's pieces, you get the sense of someone who has thought about this stuff seriously and arrived at actual conclusions — not just collected a range of perspectives and declined to pick one. That can be uncomfortable when they lands on something you disagree with. It's also why the writing is worth engaging with. Zoryna isn't interested in telling people what they want to hear. They is interested in telling them what they actually thinks, with enough reasoning behind it that you can push back if you want to. That kind of intellectual honesty is rarer than it should be.
What Zoryna is best at is the moment when a familiar topic reveals something unexpected — when the conventional wisdom turns out to be slightly off, or when a small shift in framing changes everything. They finds those moments consistently, which is why they's work tends to generate real discussion rather than just passive agreement.