Why the Right Tools Matter: Save Time, Money, and Stress
Not every repair requires a professional. Whether you’re hanging a picture frame, fixing a leaky faucet, or tightening a loose cabinet knob, the right tools can give you the confidence—and capability—to handle basic tasks on your own.
Why Invest in a Practical Toolkit?
A solid set of tools is more than just a convenience. It’s a long-term investment in independence and efficiency:
- Saves you time by avoiding constant store runs or waiting for help
- Reduces costs by cutting down unnecessary repair services
- Lowers stress when small issues arise—you’re ready to handle them
When to DIY: Everyday Repair Scenarios
There are plenty of common household fixes that don’t require expert skills:
- Securing loose furniture screws or handles
- Hanging shelves, mirrors, or frames
- Assembling basic furniture
- Minor electrical tasks like replacing outlet covers or bulbs
Having the right tools on hand makes these jobs quicker and easier—and means fewer interruptions to your day.
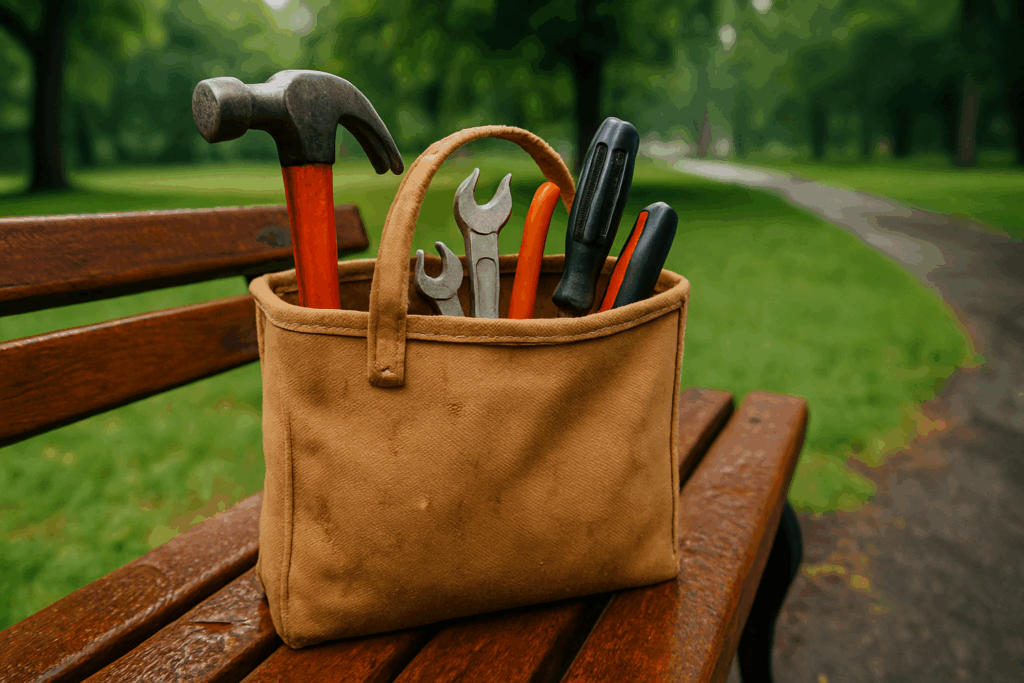
The Minimalist, Must-Have Toolkit
You don’t need to own a full workbench to stay prepared. Start with these essentials:
- A reliable screwdriver set (Phillips and flathead)
- A claw hammer
- An adjustable wrench
- A tape measure
- A multi-bit or manual drill
- A utility knife
- A small level
- Needle-nose pliers
With just these tools, you’ll be equipped to handle most everyday household problems without the need to call for help. Keep them in a clearly labeled, portable toolbox so they’re always easy to find when you need them.
Choose a Hammer That Does More Than Just Hammer
When it comes to essential tools, a good hammer isn’t just about pounding nails. It should be as versatile as your projects require—and comfortable enough for long sessions of use.
Why Your Hammer Needs to Be Multi-Purpose
The modern hammer is more than just brute force. Look for one that helps with:
- Hanging photos – precise weight and easy handling make delicate tasks simpler
- Removing nails – a strong claw design makes cleanup or corrections fast and efficient
- Light demolition – when you need to break through drywall or dismantle small fixtures, a well-built hammer can double as a demo tool
What to Look For
Choosing the right hammer isn’t about the biggest or heaviest—it’s about balance, control, and comfort.
- Balanced weight – ensures better control and minimizes wrist fatigue
- Comfortable grip – essential for both safety and efficiency, especially for prolonged use
- Durability – a solid build means longer life and better results across multiple tasks
Whether you’re building from scratch or fixing up a room, a high-quality, multi-use hammer can simplify your workflow and reduce the need for extra tools.
Why Precision Measuring Still Matters in 2024
In a world filled with smart tools and DIY tutorials, it’s easy to overlook one critical element: accurate measuring. Whether you’re hanging artwork, assembling furniture, or doing light home repairs, guessing just won’t cut it. Precision can be the difference between a polished, professional look and a frustrating redo.
Why Getting the Measurement Right is Essential
- Furniture Placement: A couch that’s even a few inches off-center can throw off an entire room’s balance. Exact measurements help ensure flow, symmetry, and optimal use of space.
- Wall Hangings: Crooked or poorly placed wall art instantly cheapens your décor. Accurate spacing and leveled placement elevate any space.
- Light Repairs: Whether it’s patching a hole or fitting shelves into a niche, exact dimensions are critical to avoiding extra trips to the hardware store—or worse, starting over.
Ideal Tool Length: 25 Feet
While there are many sizes of tape measures available, a 25-foot tape measure is the sweet spot for home and project use. It’s long enough to handle:
- Room-to-room measurements
- Wall-to-wall planning
- Outdoor layouts for decks or yard features
Plus, it’s easy to handle solo without needing a second person to anchor the end.
Common Measuring Mistakes (And How to Avoid Them)
Most people make simple measuring mistakes that lead to time-consuming errors. Here’s what to watch for:
- Not accounting for the tape measure’s housing: Many forget that the case itself has a marked length (usually printed on the back). This comes into play when measuring inside corners.
- Skipping the level or straight edge: A tape measure gives distance, not accuracy in alignment. Always confirm level and straight placement manually or with tools.
- Rounding estimates: Precision is in the details—you can always trim down, but adding material after a bad cut is costly.
- Measuring once, cutting once: Embrace the rule of thumb: measure twice (or more), cut once.
Final Thought
Whether you’re redesigning your space or tackling a minor repair, precision isn’t a luxury—it’s a necessity. Taking a few extra seconds to measure correctly can save hours of frustration and ensure your space looks and functions exactly the way you want it to.
Screwdrivers aren’t glamorous, but try assembling a shelf or tightening a hinge without one. At the bare minimum, you need a Flathead and a Phillips. These two will handle most furniture builds, outlet covers, and door handles life can throw at you.
Want to level up? Go with magnetic tips—they hold screws in place without fumbling. Interchangeable heads are another smart move. Instead of hauling around a dozen tools, one handle and a set of bits get the job done.
Manual screwdrivers give you more precision, while powered ones save your wrist (and time) when you’re faced with repetitive work or tougher materials. If you only own one, make it manual. But if you’re in and out of DIY zones regularly, a powered driver easily justifies its spot in your toolbox.
A Drill/Driver Is Non-Negotiable
You don’t need a whole workshop, but you do need a drill. It’s the difference between spending your weekend swearing at Allen wrenches and actually getting stuff done. Whether you’re putting together flat-pack furniture, mounting shelves, or handling quick household fixes, this is your workhorse.
Look for a model with variable speed—it gives you control without stripping screws or cracking wood. Battery life matters more than you think, especially if you hate stopping mid-job to recharge. And torque isn’t just a buzzword. Good torque means the drill can power through wood, drywall, even some light masonry without choking.
Now, about the debate: drill vs. impact driver. If you’re new to all this, a solid drill/driver is versatile enough to handle 90% of the jobs around the house. Impact drivers are great for heavier-duty screwing and working with tougher materials, but they’re louder and more specialized. Unless you’re building decks regularly, start with the drill.
Bottom line: Get a compact, cordless drill with decent torque, a smart charger, and at least one backup battery. It’s the tool you’ll reach for more often than you think.
Skip the bulky wrench set unless you’re planning to moonlight as a plumber. For most homeowners, a solid adjustable wrench will cover 90% of the jobs you’ll actually face. It handles loose bolts, dripping faucets, small plumbing fixes, and any random hardware task that pops up. Simple, versatile, and easy to stash in a drawer.
What makes it more practical? First, it saves space—no need for a dozen wrenches in different sizes. Second, it’s fast: one tool, a twist of the dial, and you’re set. For quick, one-off repairs, it’s the dependable go-to. In short, unless your Saturday plans involve redoing your entire pipe system, this is the tool you need—nothing more, nothing less.
Utility knives are built for quick cuts, and they earn their keep across a wide range of tasks—breaking down cardboard boxes, trimming drywall, slicing through packaging, and tackling anything else that needs a clean edge. Whether you’re vlogging a product unboxing or a DIY wall install, having a sharp blade and knowing how to use it safely can make or break your workflow.
Keep your grip firm but relaxed. Don’t force cuts. Let the blade do the work. Always cut away from your body, and keep your non-cutting hand out of the path. If your blade starts snagging or tearing instead of slicing, it’s time to swap it out. Blade replacement should be quick and clean: retract, remove, dispose safely, insert new sharp edge.
Treat your utility knife like the precision tool it is. It’s not glamorous, but it’s the unsung hero of clean footage and safe hands.
Before you drill or mount anything on your walls, invest in a stud finder. It’s a small tool that can save you from big mistakes. A missed stud can turn into a cracked wall, a dangling shelf, or worse—drilling straight into electrical lines. That’s the kind of DIY fail that costs more to fix than to prevent.
Look for features that actually matter. Deep scan mode is useful for thicker drywall or surfaces with extra layers like tile. Electrical detection is critical—it can alert you when wires are hiding behind that seemingly empty section of wall. The latest models are fast, user-friendly, and often come with app support or digital displays.
It’s not overkill. It’s just smarter to prep before you punch holes into your drywall. And if you’re dealing with past mistakes, check out this related read: Step-by-Step Guide to Repairing Drywall Holes.
Pliers are one of those tools that seem simple—until you don’t have the right kind. At their core, they’re great for gripping, bending, twisting, or pulling wire and hardware. But when you’re dealing with electrical or plumbing work, one-size-fits-all doesn’t cut it.
For electrical jobs, needle-nose pliers are a go-to. They let you maneuver in tight spots and work with delicate wires without wrecking the insulation. Linesmen’s pliers, on the other hand, bring the grip and cutting power needed for heavier cable work.
When it comes to plumbing, tongue-and-groove pliers (often called channel locks) are king. Their adjustable jaws can lock onto pipes, fittings, and nuts—making stubborn parts way easier to deal with. Having at least two types on hand isn’t overkill—it’s covering your bases.
Bottom line: the right pliers mean less slipping, less frustration, and fewer busted knuckles. Worth stocking more than one style.
Crooked shelves. Slanted photo frames. Lopsided tile lines. If you’ve ever stepped back from a DIY project and realized something’s just… off, you’re not alone. Luckily, the right leveling tool makes all the difference. But deciding between a laser level and a classic bubble level isn’t always clear-cut.
The bubble level is bare-bones and reliable. It doesn’t need batteries, handles well in tight spaces, and lets you wing it with one hand while holding a drill in the other. For small, quick jobs—hanging a frame or adjusting a shelf—it gets the job done.
Laser levels, on the other hand, bring precision and range. With a straight beam of light, they can cast level or plumb lines across whole walls or rooms. Great for tiling, major shelving setups, or any project where being a few millimeters off adds up over distance. Downsides? They’re pricier, they need power, and there’s a learning curve if you’re used to analog.
Bottom line: bubble levels are ideal for small-scale, grab-and-go jobs. Laser levels shine when you’re working bigger, want perfect lines, and care about long-term precision. Choose based on the project—not just the price tag.
Light Where It Counts: Illumination Tools That Keep You Moving
Good luck fixing anything in a crawlspace or under a sink without solid lighting. When you’re in low-light zones—breaker boxes, engine bays, behind appliances—a hands-free, reliable light isn’t optional. It’s the quiet MVP of any serious vlogging or troubleshooting setup.
Headlamps and magnetic work lights are essential for placement versatility. Mount it, clip it, strap it—then get to work without juggling a flashlight. But the power source matters too. Rechargeable lights are becoming the default thanks to long-term savings and reduced waste. They’re especially handy for vloggers on the go: one charger, endless uses.
Battery-powered versions still have their place, especially for remote shoots or backup scenarios when charging isn’t possible. Just know you’ll burn through batteries fast if the light sees heavy use.
The bottom line? Pick tools that keep your hands free and your footage lit. Without proper light, you’re just filming in the dark—literally.
Protects Your Investment and Keeps Clutter in Check
If you’re serious about vlogging, your gear isn’t just stuff—it’s your studio, your toolkit, your livelihood. Whether it’s a mirrorless camera, a drone, or a portable mic setup, this equipment adds up fast in both cost and fragility. That’s why protecting it isn’t optional. A solid camera bag or gear organizer does more than look tidy—it defends your investment every time you’re on the move or loading into storage.
Look for gear setups with padded compartments. Not just one big space to dump things into, but segmenting dividers that separate lenses, batteries, and cables. Bonus if it includes waterproofing or a hard shell exterior. Don’t forget about portability—rolling cases are great for heavier kits, while modular shoulder or backpack systems help when you’re shooting on the go. Never underestimate how frustrating it is to dig through a tangled bag when time and light are fading.
Less clutter means faster setup, fewer missed shots, and less friction in your workflow. Staying organized isn’t just about aesthetics—it’s a strategic edge.
Build Your Toolkit the Right Way
Start slow. You don’t need every shiny gadget right out of the gate. The smart move is to build your toolkit one piece at a time, as projects and skills demand it. Rushing to buy a dozen tools you barely know how to use? Waste of cash and space.
When you do buy, go for quality. A solid impact driver, a rust-proof wrench set—these aren’t impulse buys, but they’ll outlast the cheap stuff by years. And you’ll spend less overall by not having to replace broken gear.
Before you take on huge builds or deep fixes, nail your basics. Learn the feel of your tools, understand materials, get comfortable with small jobs. That’s how you build real confidence.
Even with ten good tools, you’ll be shocked how much you can do. A little patience and prep get you further than a packed garage with no plan.