Why Regular Maintenance Matters for Your Water Heater
A well-maintained water heater doesn’t just keep your showers hot—it lasts longer. Like any hardworking appliance, water heaters wear down over time. But with routine maintenance, you can stretch its lifespan by several years. That means fewer replacements, fewer headaches, and more money left in your pocket.
Maintenance also makes your unit run leaner. Sediment builds up in the tank over time, forcing it to work harder to heat the same amount of water. Flushing out that gunk and checking parts like the anode rod can make a noticeable difference in energy use. Translation: lower bills and fewer spikes in your utility costs.
And here’s the kicker—most of the catastrophic failures? They’re preventable. Think leaks, busted heating elements, or full-blown breakdowns. Catching issues early through simple checks keeps you from landing in an emergency plumbing situation (that usually costs more than a weekend getaway).
Maintaining your water heater isn’t just smart—it’s basic self-preservation.
Setting your water heater between 120°F and 130°F strikes a smart balance. It’s hot enough to kill off harmful bacteria but not so hot that you end up with scalded skin or a bloated energy bill. This range also extends the life of the appliance by avoiding unnecessary stress on its components.
Before adjusting, locate the thermostat—usually found behind an access panel near the bottom of the unit. Always cut the power at the breaker before opening anything up. Use a flathead screwdriver to make small adjustments and give the water a few hours to stabilize before retesting. Simple tweak, big benefits.
Catching Leaks Before They Spread
Leaks are one of the most common and potentially damaging issues in any plumbing system. Being proactive can save you from costly repairs and major water damage down the line. Here’s how to stay ahead:
Inspect the Base and Plumbing Connections
Regular visual checks can reveal early warning signs. Focus your attention on high-risk areas:
- Around the base of toilets, sinks, and water heaters
- Under kitchen and bathroom sinks
- At connection points where pipes meet fixtures or appliances
Look for any abnormalities like discoloration, pooling water, or unusual smells.
Spot the Early Red Flags
Even minor changes can point to early-stage leaks. Keep an eye out for:
- Moisture or damp spots around pipe fittings or under sinks
- Rust, corrosion, or mineral buildup on exposed pipe connections
- Warped floors or peeling paint near plumbing areas
- A spike in your water bill without a clear cause
The sooner these signs are identified, the easier the fix—and the lower the cost.
What to Do if You Find a Leak
Don’t wait to take action. If you discover a leak:
- Shut off the water supply to the affected area immediately
- Dry and clean the area to prevent further damage and mold growth
- Assess the severity—minor drips can often be fixed with pipe sealant or tightening connections, while major leaks may require a plumber
If you’re unsure, it’s always best to bring in a professional. Acting quickly preserves your home’s integrity and prevents bigger problems.
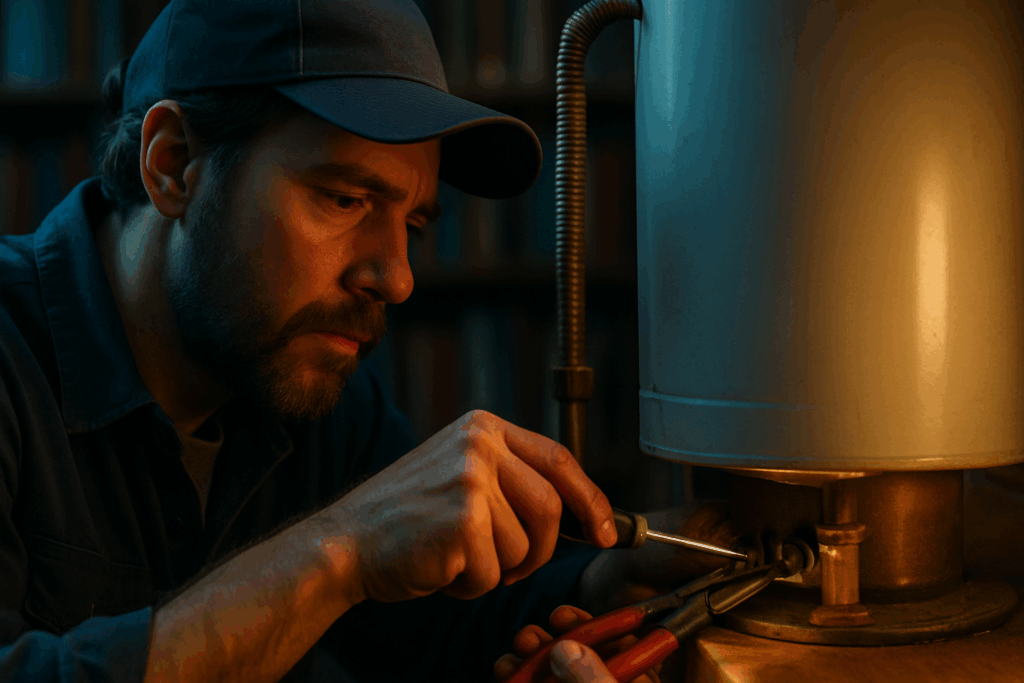
The pressure relief valve is one of those parts you barely notice—until it fails. Its job is simple but non-negotiable: to release excess pressure and keep your system from blowing out. Whether it’s in a heating unit, hydraulic machine, or air compressor setup, this valve is the last line of defense between a stable system and a costly—maybe dangerous—disaster.
Testing it? Start with controlled pressure buildup. Make sure your system is cold and off. Use a calibrated pressure gauge and open the valve slowly, watching for a clean release at the unit’s rated PSI. If it’s sticky, slow to open, or doesn’t reseat properly afterward, that’s your warning sign. And no—you shouldn’t just keep testing a questionable valve over and over. That’s a fast track to real damage.
When to replace it? Right when you stop trusting it. If it leaks, activates unpredictably, or the spring mechanism feels off, swap it out. Valves are cheap insurance. Don’t roll the dice just to save a few bucks.
Over time, sediment builds up in your water heater tank. It’s mostly made of minerals from your water supply—harmless, but problematic. That layer of grit makes the heater work harder to warm your water. You’ll start noticing longer heat-up times, strange popping sounds, or even inconsistent temps. That’s your cue: time to drain a few gallons.
To do a partial drain, turn off the heater and let it cool. Shut off the cold water supply, then connect a garden hose to the drain valve. Open the valve and let out two to three gallons. Close the valve, remove the hose, and restart the heater. This quick release helps loosen sediment before it bakes in.
But if you’re seeing signs of serious buildup—or it’s been more than a year—it may be time for a full flush. Same steps, but this time drain the entire tank. Be sure to open a hot water tap when flushing so air can get in. After it empties, turn the cold line back on to rinse out any lingering debris. Once water runs clear, close the valve and restart everything.
Done right, these maintenance steps extend the life of your water heater and keep efficiency high. Don’t wait for a breakdown to make it a habit.
Cut Heat Loss with Easy Pipe Insulation
If you’re tired of high utility bills, one of the simplest fixes is right under your nose—or maybe under your sink. Insulating exposed pipes, especially hot water lines, helps keep heat where it belongs. Less heat loss means your water heater works less, and your bills drop. Simple math.
No need to hire anybody. Foam pipe sleeves, fiberglass wrap, or even reflective insulation can be picked up at any hardware store. Most come pre-slit, made to snap around pipes in seconds.
Here’s how to wrap without wrecking warranties:
- Measure your pipes first—inside diameter matters.
- Use pre-formed foam insulation or wrap-around fiberglass for tricky angles.
- Avoid taping over pressure valves, joints, or equipment tags. That’s how warranties get voided.
- Seal the seams snugly but don’t compress the insulation too tightly. Gaps let heat escape, but crushed material does nothing.
Thirty minutes, a utility knife, and some weather tape. That’s it. Low effort, high return.
Strange sounds coming from the pipes. Water that looks off—brown, cloudy, or just not quite right. Leaks that show up, disappear, and come back a month later. These aren’t quirks; they’re early warning signs. If you’re vlogging in a home studio or using your space as part of your content, keeping your plumbing solid isn’t just good maintenance—it protects your time, gear, and credibility.
Even if everything seems fine, one annual check by a licensed technician is still a smart move. Ask them to inspect for corrosion, sediment buildup, worn washers—basically, anything that could sneak up and turn into a bigger issue. You want to know before it floods, not after.
When the technician shows up, don’t just nod along. Ask pointed questions: How old is the water heater? When should the valves be replaced? Are there signs of hard water damage? These basics give you control—not just over your home, but over the reliability of your working environment.
Vlog setup or not, clean, quiet, and efficient plumbing makes a difference. It’s not glamorous, but it’s foundational.
A Few Simple Habits That Go a Long Way
It’s easy to overlook basic routines, but when it comes to content creation, staying organized and consistent can prevent huge stress down the line. From setting up your space to managing files and equipment, these small habits can make a big difference.
Avoid Headaches with a Few Easy Practices
Being proactive now helps you avoid big problems later. A few simple steps can save hours of fixing issues or re-recording content:
- Back up your footage after every shoot
- Regularly clean and maintain your gear
- Label storage drives and organize your files by project or date
- Keep a checklist of essential items for every filming session
Make Consistency Part of Your Routine
Habits are easier to maintain when they become part of your regular flow. Don’t wait until burnout sets in to get structured:
- Set a recurring schedule to plan, film, and edit
- Create templates for editing and publishing
- Use reminders or apps to track deadlines
These habits don’t need to feel like chores—they’re your safeguard for creative freedom.
A Favor to Your Future Self
When you manage your workflow and time well, you’re not just helping current productivity—you’re protecting your future energy, budget, and mental clarity.
- Avoid last-minute rushes or lost footage
- Keep energy bills low by powering down gear after use
- Future you will appreciate the extra time and peace of mind
In short, small changes create big impact. Start simple, stay consistent, and let the habits do the heavy lifting over time.
Timing matters more than most homeowners realize. The sweet spots for general home inspections and upkeep? Fall and spring. Fall checks help prep your home for cold weather—checking insulation, gutters, heating systems. Spring is perfect for rechecking after winter’s wear and getting ahead of moisture issues, pests, or roof damage.
The real benefit kicks in when you align these checks with your broader home maintenance schedule. Do a sweep through your HVAC, plumbing, roofing, and basic safety features all in one go. Bundling tasks saves time, catches small issues before they become costly, and helps keep everything ticking without surprise breakdowns.
For a more complete rundown, check our Seasonal Home Maintenance Checklist.